Transforming your outdoor space into a stunning oasis just got easier with our step-by-step guides for popular hardscape projects. Whether you're a seasoned DIY enthusiast or just starting out, we're here to guide you through the process with easy-to-understand directions and expert tips. Discover how you can elevate your backyard with projects such as:
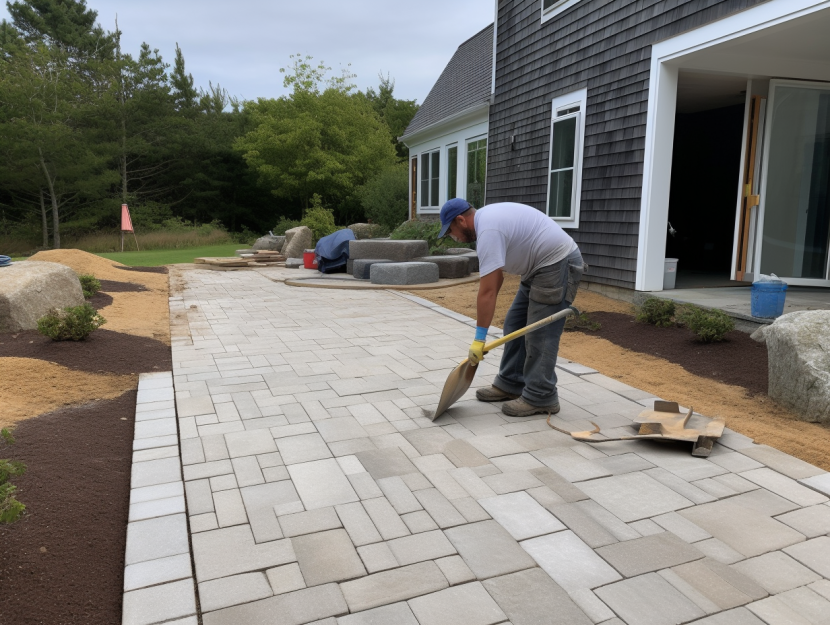
Build Your Dream Patio
Unwind and entertain in style with a custom-designed patio. Learn how to lay pavers, create intricate patterns, and add finishing touches that will make your outdoor space the envy of the neighborhood.
Enhance Your Curb Appeal
Boost the beauty and value of your home with eye-catching landscape features. From building retaining walls to installing decorative borders, our guides will help you create a welcoming entrance that leaves a lasting impression.
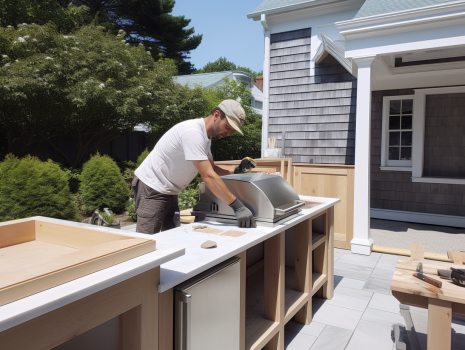
Create the Ultimate Outdoor Kitchen
Take your backyard BBQs to the next level with a fully equipped outdoor kitchen. Learn how to design and build a functional cooking area complete with countertops, seating, and storage solutions.
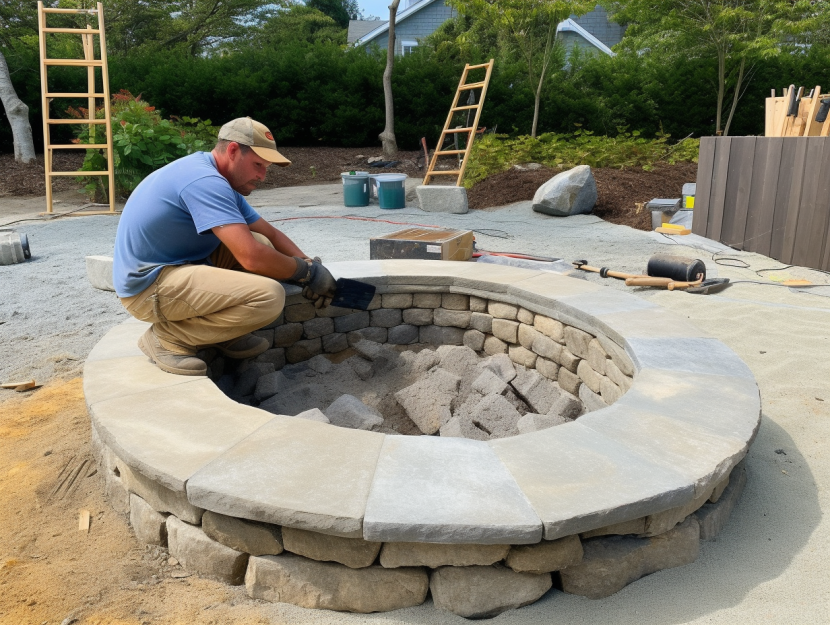
Design Your Own Fire Pit
Gather around the warmth and ambiance of a custom fire pit. Whether you prefer a classic stone design or a modern gas-powered feature, we'll show you how to build a cozy gathering spot for friends and family.
And Much More!
Explore our comprehensive library of DIY tutorials to discover endless possibilities for enhancing your outdoor living space. With our easy-to-follow instructions and helpful tips, you'll be amazed at what you can accomplish.
Installing brick pavers for a backyard patio
1. Planning and Preparation:
2. Base Preparation:
3. Install Edge Restraints:
4. Lay the Pavers:
5. Compact and Fill Joints:
6. Final Steps:
7. Maintenance:
By following these steps carefully, you can create a beautiful and long-lasting brick paver patio in your backyard.
For more information on installing brick pavers, check out our Brick Pavers Guide.
Enhancing your curb appeal
1. Assess Your Current Landscape:
2. Develop a Plan:
3. Clean and Declutter:
4. Landscape Enhancements:
5. Lawn Care:
6. Hardscape Additions:
7. Outdoor Lighting:
8. Maintenance:
By following these steps and investing time and effort into enhancing your curb appeal, you can create a beautiful and welcoming exterior that reflects your personal style and pride of ownership.
Create the Ultimate Outdoor Kitchen
1. Plan Your Layout:
2. Choose Your Appliances:
3. Design Your Countertops and Storage:
4. Create Comfortable Seating:
5. Add Functional Extras
6. Consider Lighting and Ambiance:
7. Incorporate Design Elements:
8. Consider Practical Considerations:
By following these steps and incorporating your personal preferences and lifestyle needs, you can create the ultimate outdoor kitchen that enhances your outdoor living experience and becomes the centerpiece of your backyard oasis.
Design Your Own Fire Pit
1. Choose a Location:
2. Determine Size and Shape:
3. Select Materials:
4. Design Features:
5. Choose Fuel Type:
6. Plan for Ventilation:
7. Build Your Fire Pit:
8. Add Finishing Touches:
9. Safety Precautions:
By following these steps and incorporating your personal style and preferences, you can design and build a custom fire pit that becomes the focal point of your outdoor living space and creates lasting memories with family and friends.